How to Train a Custom Image Classifier in 5 Minutes
Tutorial for using Ximilar Image Recognition service for creating AI/neural network model for categorization without coding.


Recognize Images Using Ximilar Recognition API
Ximilar App is a powerful platform for creating your own machine-learning models. You can use the platform for free if you want to develop an AI model for classification/categorization of images, deep image tagging or detecting objects (bounding boxes) on the images. There are no coding skills needed, the system/platform is easy to use. Building your visual AI model can be done online via your browser (in the cloud) and the final model will be deployed as an API endpoint. Whether you want to recognize clothing, quality check/control on images or recognize trading cards, the Ximilar App offers you complex tools for achieving great accuracy. Ximilar is significantly cheaper than Azure AI or Google AI services (GCP, Vertex AI). The training (optimization) of the model is free! This is a huge cost saver for developing and deploying your own AI models online.
Today, I will show how to set and test a custom image classification engine using Ximilar Image Recognition. This is a step-by-step guide for training an image categorization model via the Ximilar platform. We will prepare a dataset, upload images, train the classifier and test our classifier in the web interface. We need no coding experience unless we want to build API in our project. Let’s start now.
Prepare a Machine Learning Dataset
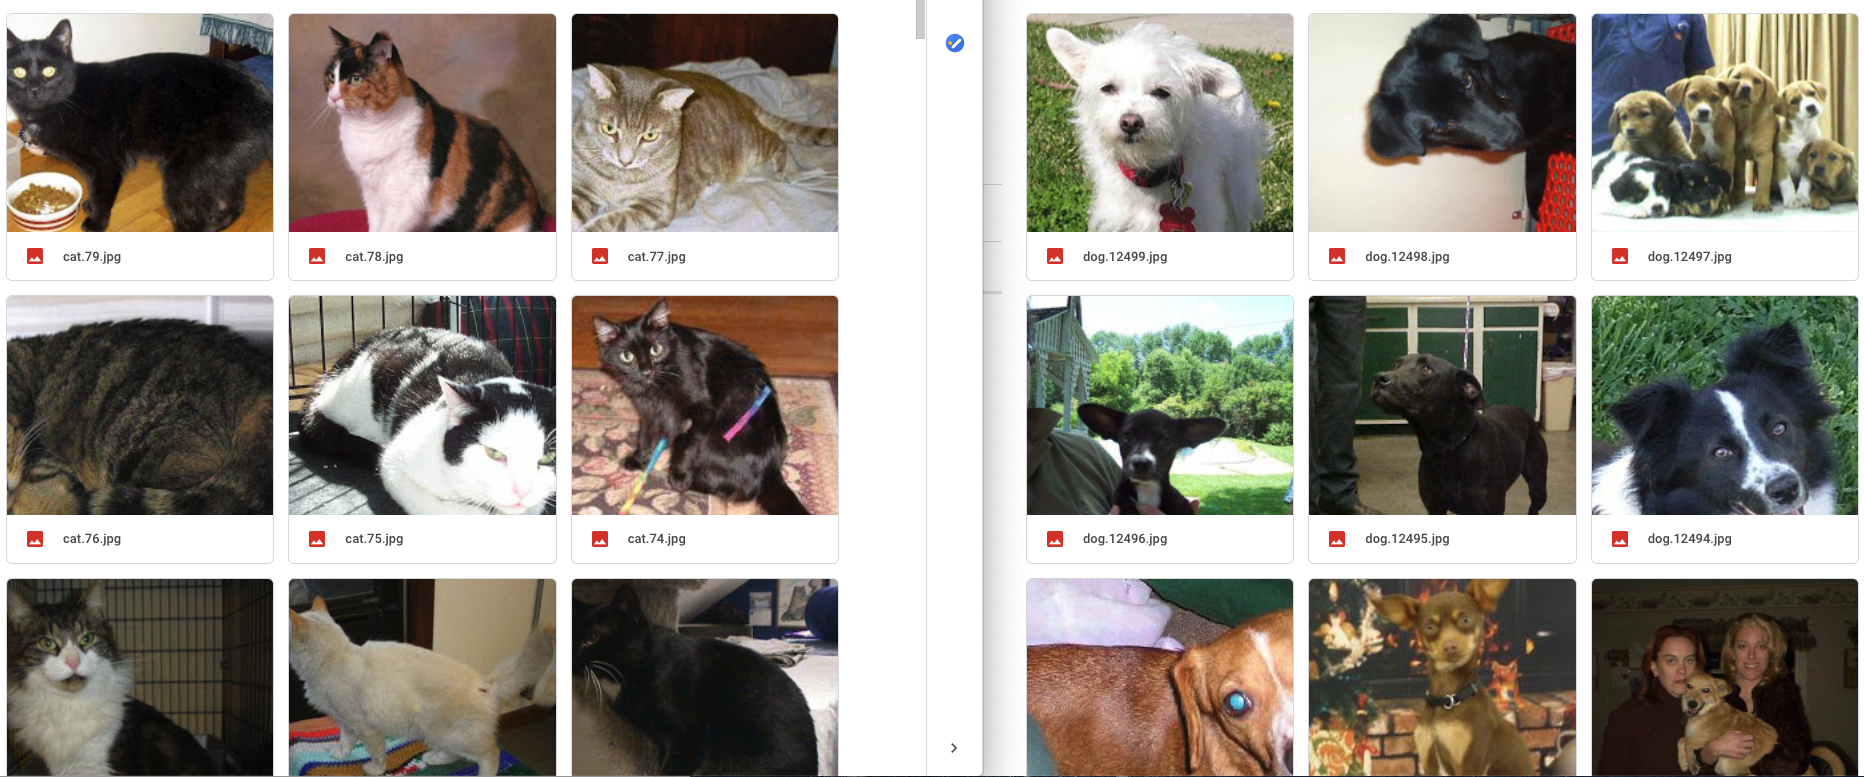
We want the classifier to recognize cat vs dog. First, we will need 20 pictures of each cat and dog. Let’s google “cat” and “dog” and save 20 images of each. For every category, I also searched for the different breeds, so my dataset is as diverse as possible.
Upload Your Dataset to Ximilar App
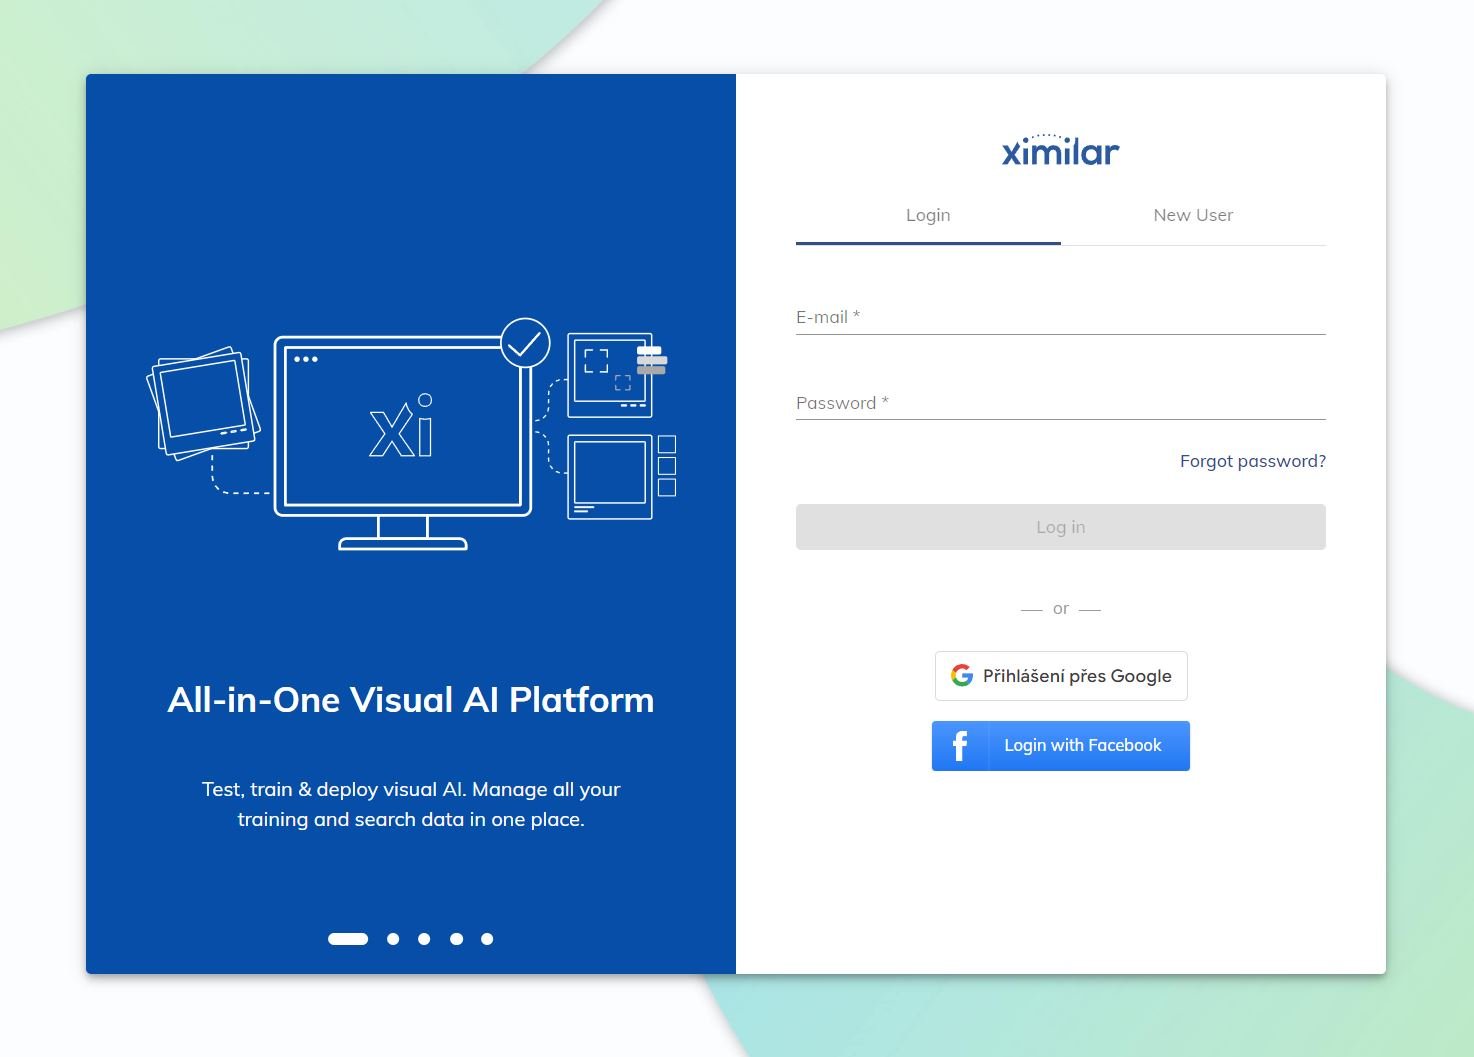
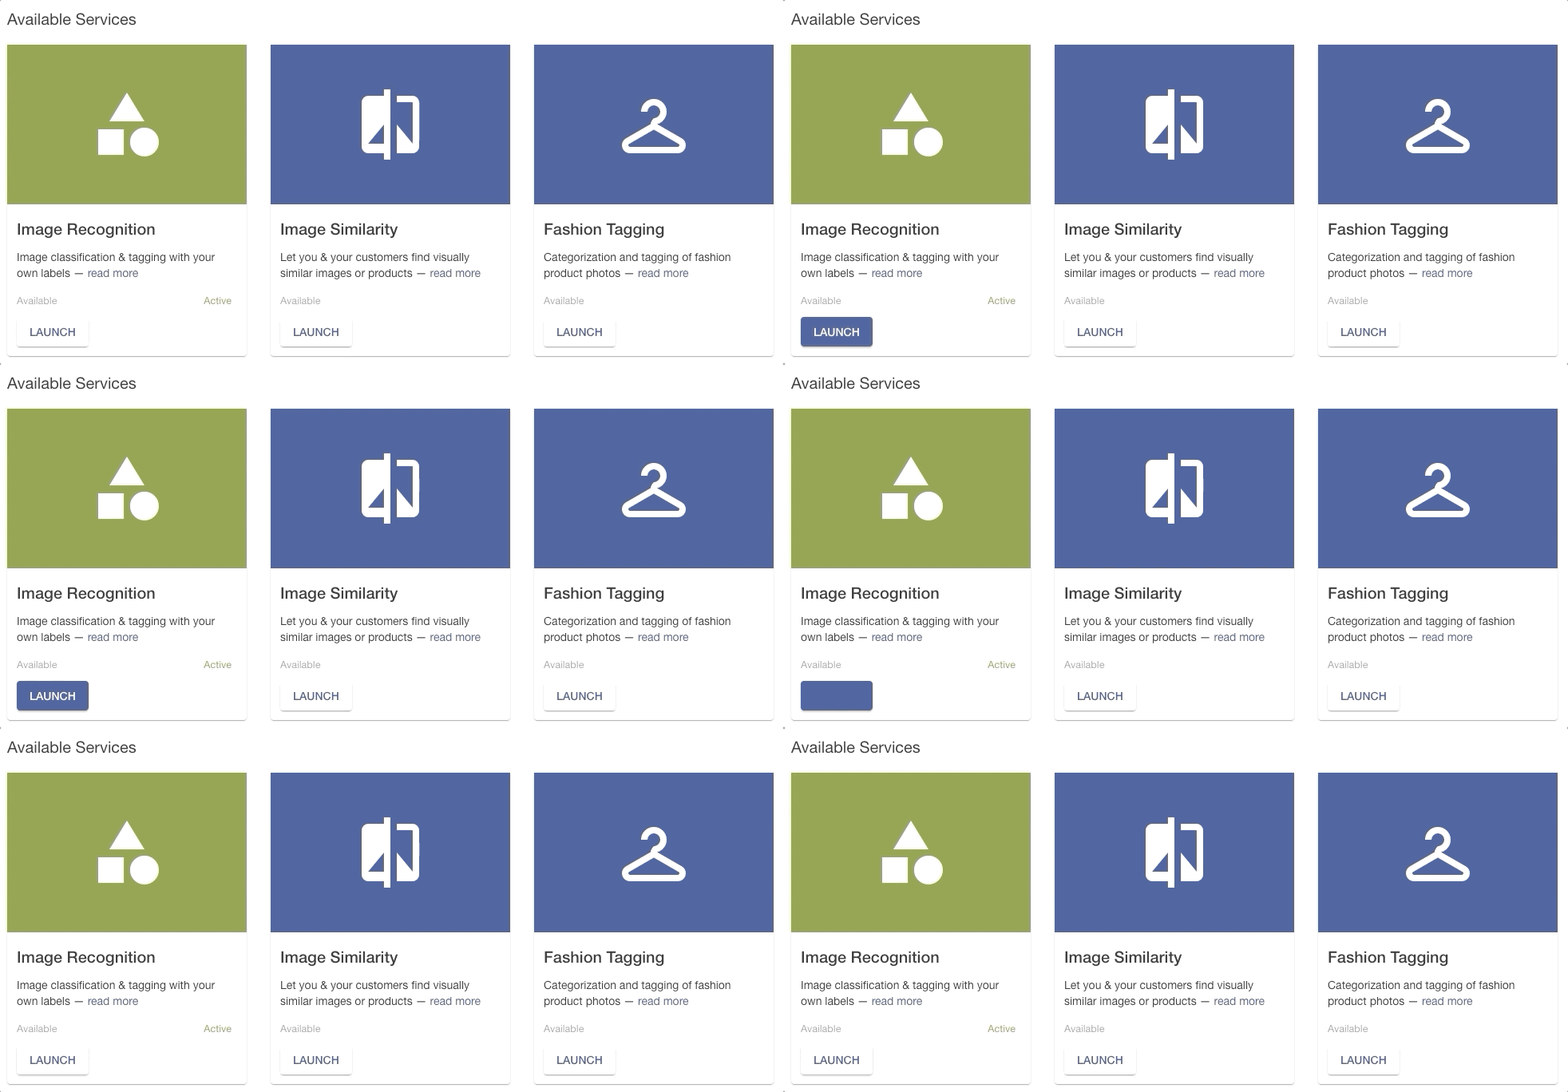
We will need to create an account through app.ximilar.com. Visit the homepage, then click “Log in” and create an account through the Sign-Up form. Then you can log in to the platform. Select the Image Recognition service on the dashboard page.
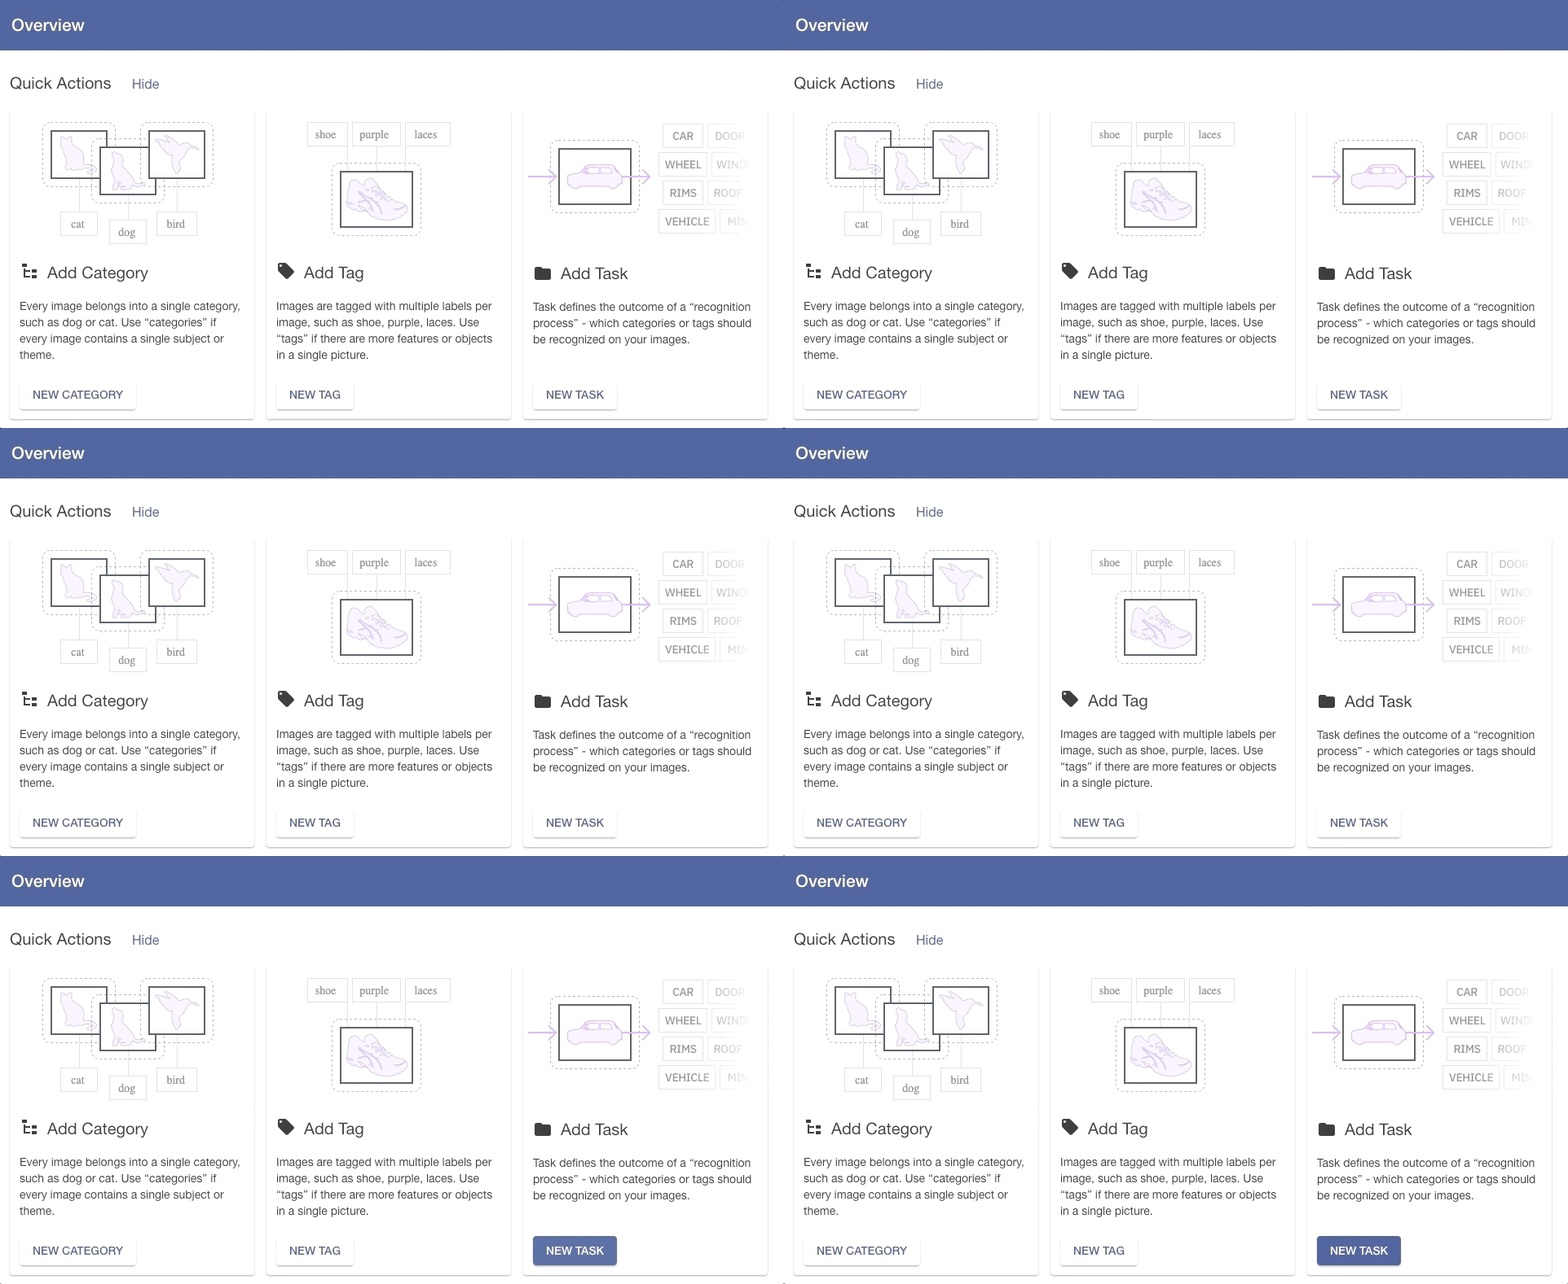
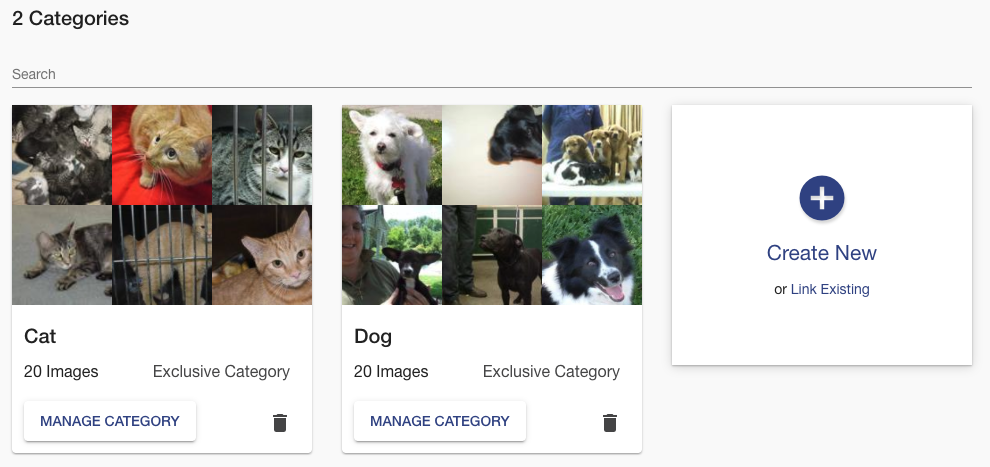
We are ready to create a new task. A task is a classification engine (convolutional network model) that lets us classify our images. On the Overview page, through the Quick Actions section, we click on the “Add Task” button and pick the Categorization task. Fill the name with our classifier “Cat vs Dog”. We want to add two categories, “Cat” and “Dog”. We can always add and delete categories later. Click “Create New” to add a category on the Task page. We create two of them.
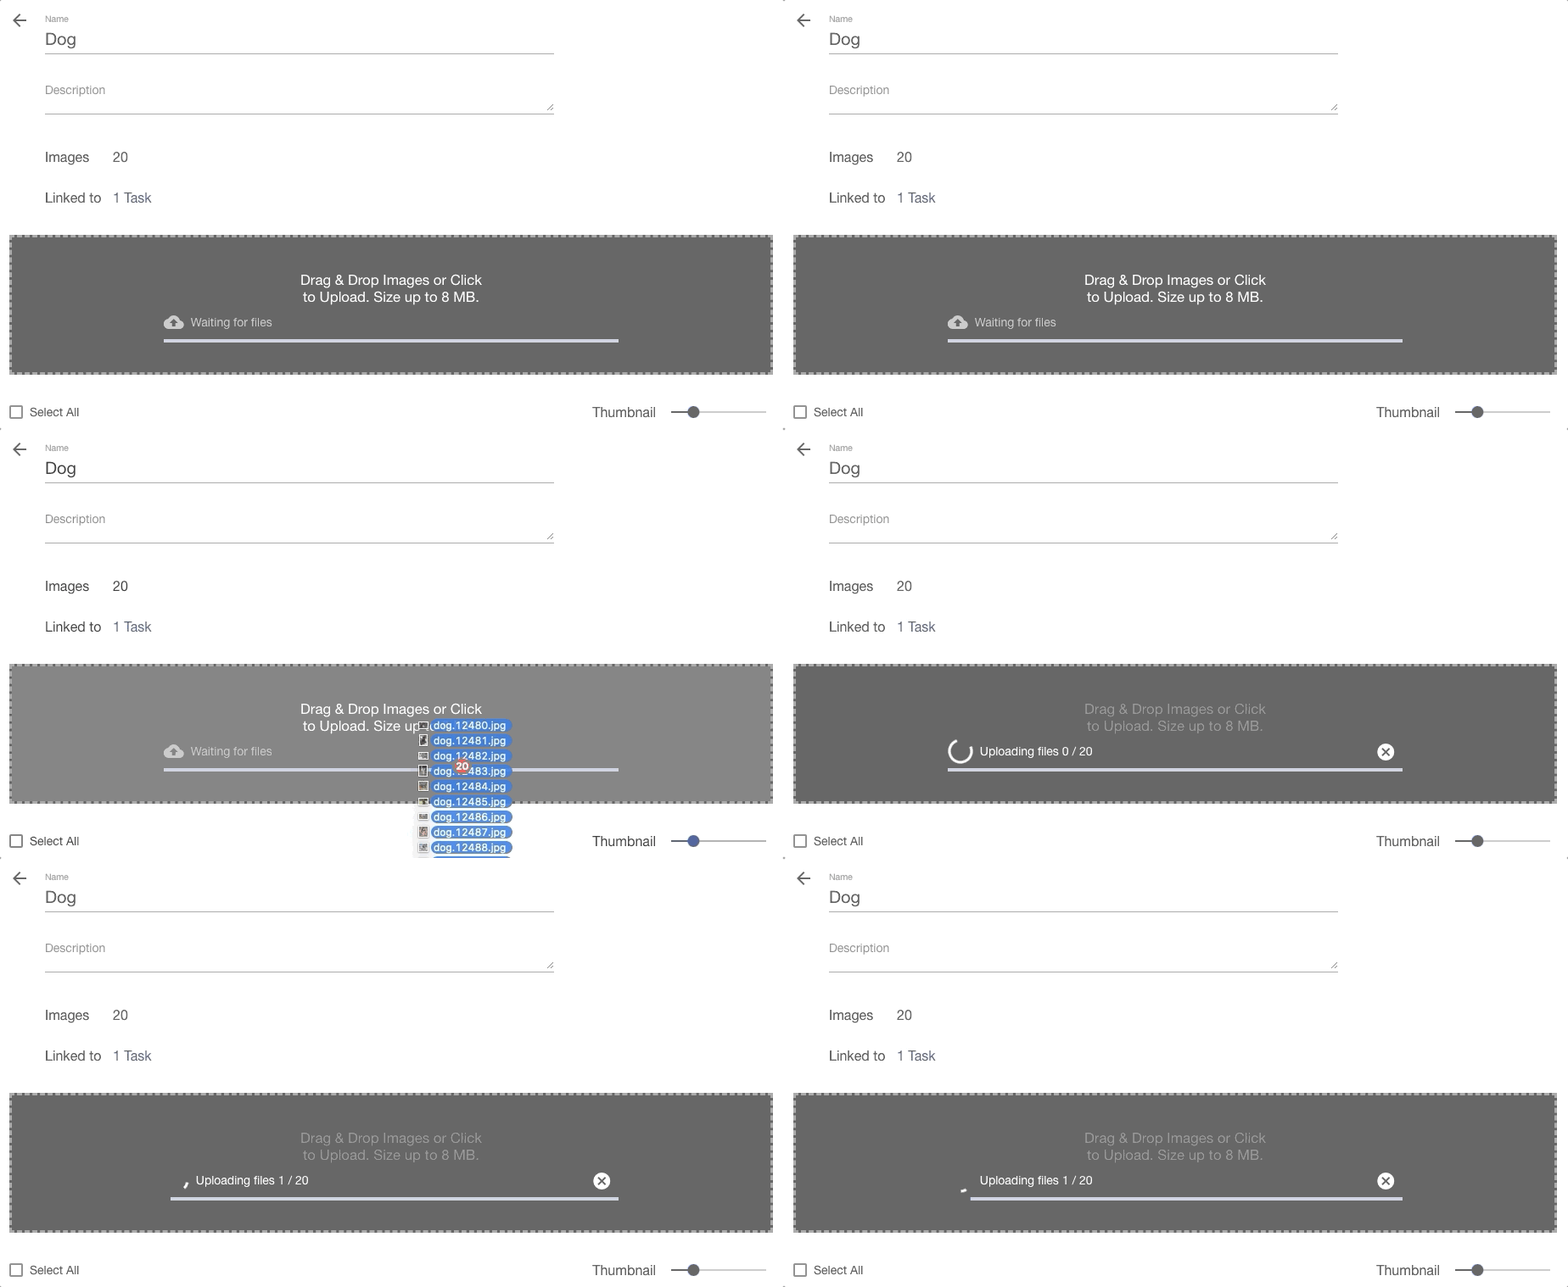
Now, we are going to “Drag and Drop” images for each category. In Category, drag images and drop them into the Drag & Drop section. We can see 20 and 20 images uploaded in the image above. Ximilar Recognition service requires that every label has at least 20 images. We can use the “Manage Category” button on Label/Category to show images and move them from one category to another.
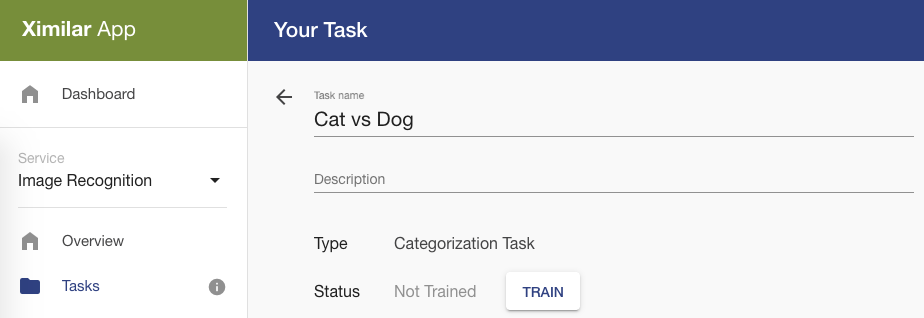
In this step, we can review our categories. We are ready to click on the “TRAIN” button.
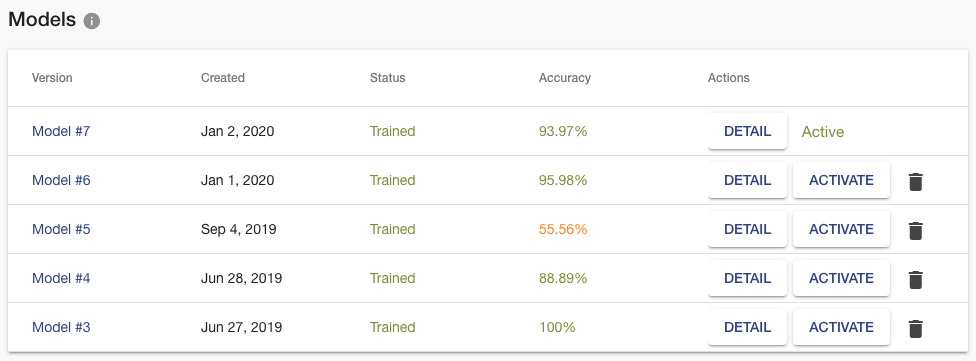
A task is in training right now. It can take one to five hours, depending on the number of images and the complexity of your task. Ximilar Recognition uses transfer learning and a set of fine-tuned model architectures to reach the best possible accuracy on each task. Time to have a coffee now and wait for training to finish. After task training is finished, you will see in the model section below a list of trained models:
Our model is ready! We reached 94% accuracy on our 40 images dataset. You can view more statistics about the trained models when you click on the DETAIL button. We can now test it using Classify preview.
We trained and tested our classifier using the Ximilar web interface. This is the simplest way to build an image classification/machine learning model for photos online via a web browser. We reached 94% accuracy, which we can increase to 99.9 % by uploading more images. It is time to experiment with the huge possibilities that image classification brings. In the developers’ documentation, you can find a sample code for connection to our REST API endpoint. Here are a few more resources to help you:
- Advanced image augmentation settings for training
- Tips and best practices for training a model via Ximilar Platform
- Video tutorial for training a model
I hope you like this guide for training simple image recognition models. Contact us if you want to know more about our cloud AI platform, or sign up for free and test it by yourself. Our team can help you with your ideas and business projects.
Tags & Themes
Related Articles
How to Automate Pricing of Cards & Comics via API
A step-by-step guide on how to easily get pricing data for databases of collectibles, such as comic books, manga, trading card games & sports cards.
Getting Started with Ximilar App: Plan Setup & API Access
Ximilar App is a way to access computer vision solutions without coding and to gain your own authentication key to use them via API.

Get an AI-Powered Trading Card Price Checker via API
Our AI price guide can be used for value tracking of cards and comic books, offering accurate pricing data and their history.
